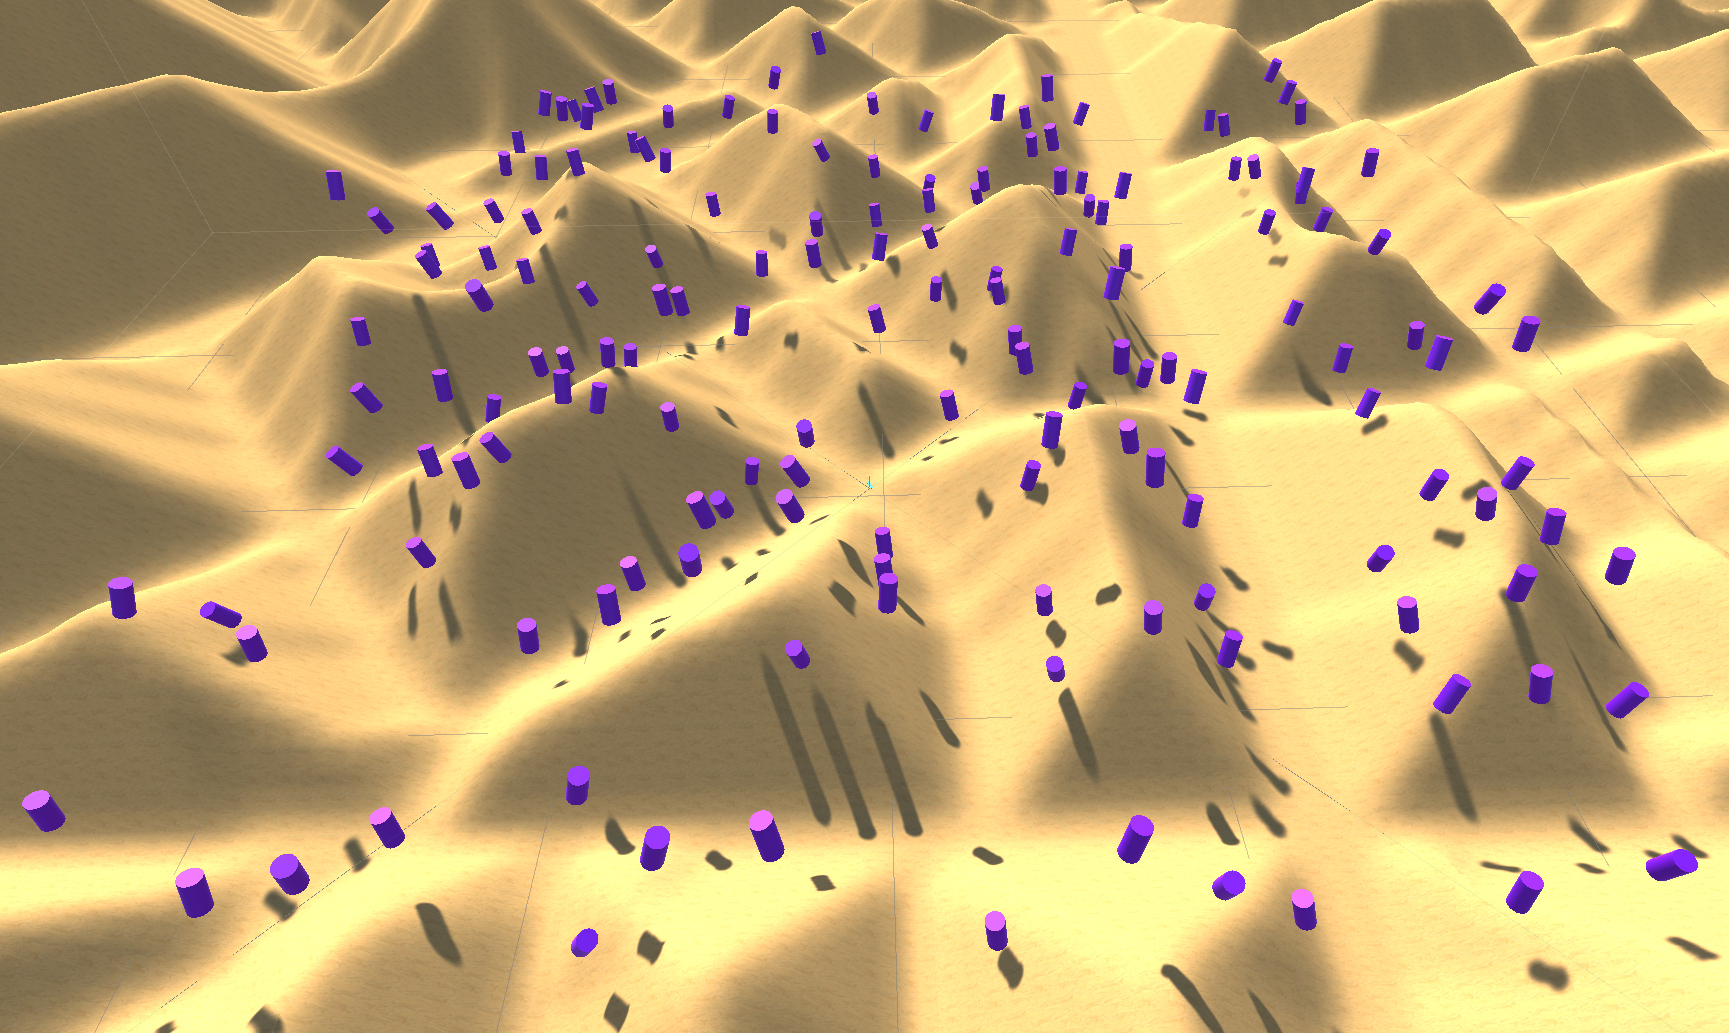
Grid Spawner & Permitted Area
The graph system of the Spatial Experience SDK provides a variety of procedural spawning nodes. Some of these are specialized for specific geographic data sources, while others are highly flexible general-purpose spawners. One of the most critical out-of-the-box spawner nodes is the GridSpawner (displayed as Grid Spawner in the Graph Editor).
Because it completely bypasses the resource-heavy Pose generation pipeline, the GridSpawner is immensely high-performant and serves as the primary tool to distribute massive quantities of environmental decorations (such as thick forests, fields of grass, fields of rocks, or village bushes) on mobile devices.
The Grid Spawner Architecture
The core design philosophy behind the GridSpawner is to distribute many static game assets across a local matrix quickly and efficiently, while integrating essential randomization controls (size, translation, rotation) directly inside the node itself to simulate organic variety:
---
config:
  flowchart:
    subGraphTitleMargin:
      bottom: 30
---
flowchart TD
    subgraph Input_Maps ["1. Map Inputs"]
        Height["Terrain Heightmap"]
        Mask["Permitted Area Mask <br> (e.g., One Minus Road Mask)"]
    end

    subgraph Spawner_Core ["2. Grid Spawner Logic"]
        Grid["Grid Spawner Node <br> (Divides Extents into Cell grids)"]
        Jitter["Jitter & Scale Randomizer"]
        Transform["Translate Y & Rotation Offsets"]
    end

    Height -->|Sets Y coordinate| Grid
    Mask -->|Filters coordinates| Grid
    Jitter & Transform -->|Applies local offsets| Grid

    subgraph Scene_Output ["3. Dynamic Instantiation"]
        Instances["Procedurally Placed GameObjects <br> (Organic, optimized distribution)"]
    end

    Grid -->|Draws from Prefab/PrefabList| Instances

    %% Styling (Vibrant highly colored theme)
    style Input_Maps fill:#e0f2fe,stroke-width:0px
    style Height fill:#0284c7,stroke-width:0px,color:#fff
    style Mask fill:#0ea5e9,stroke-width:0px,color:#fff

    style Spawner_Core fill:#f3e8ff,stroke-width:0px
    style Grid fill:#7c3aed,stroke-width:0px,color:#fff
    style Jitter fill:#9c27b0,stroke-width:0px,color:#fff
    style Transform fill:#8b5cf6,stroke-width:0px,color:#fff

    style Scene_Output fill:#dcfce7,stroke-width:0px
    style Instances fill:#16a34a,stroke-width:0px,color:#fff
1. Grid Spawner Basics
To begin procedural spawning, add a Grid Spawner node to your graph and review its essential spatial parameters:
Extents(float): Determines the total square edge length of the spawner's Moving Grid centered around the player's vehicle. Objects are dynamically enabled as they enter this boundary and recycled as they cross out.Cell Size(float): Subdivides the extents boundary into a matrix of square cells. The spawner attempts to instantiate exactly one prefab instance in the center of each cell.- Spacing Relationship: For any given extent, increasing the
Cell Sizeresults in fewer, wider-spaced cells (more spacing between objects), while decreasing it results in a denser, compact grid layout.
- Spacing Relationship: For any given extent, increasing the
Heightmap(Map Input): Expects a 2D heightmap (usually your terrain height data). The spawner samples this heightmap at each cell center coordinate and automatically aligns the instantiated prefab's vertical (Y) coordinate to match the terrain height.- Prefab / Prefab List: Defines the game assets to instantiate. You can assign a single static prefab directly in the Inspector, or connect a
PrefabSelectornode to theprefabListport to procedurally blend asset variations (see the Picking Prefabs chapter).
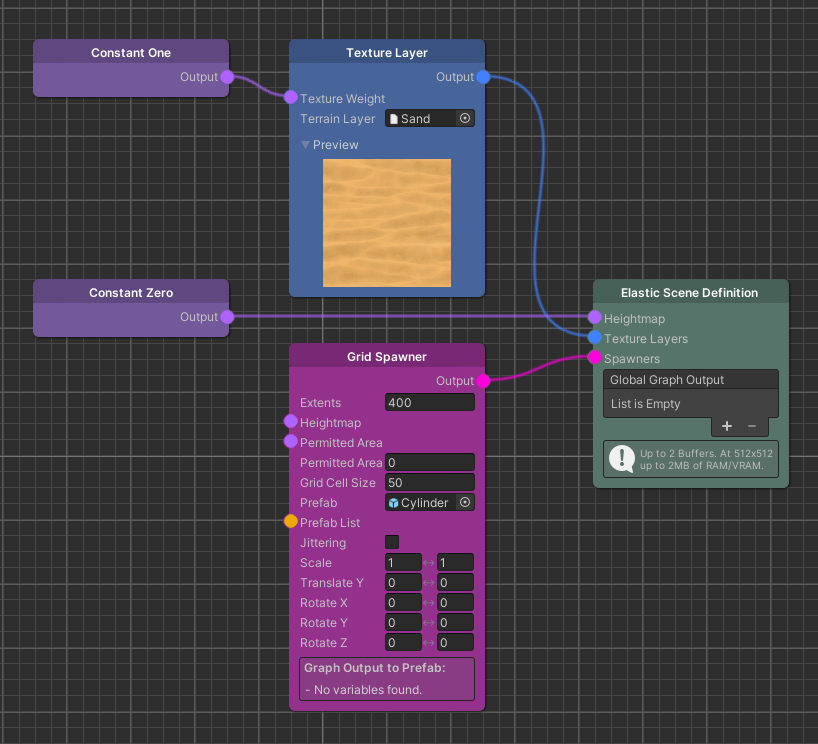
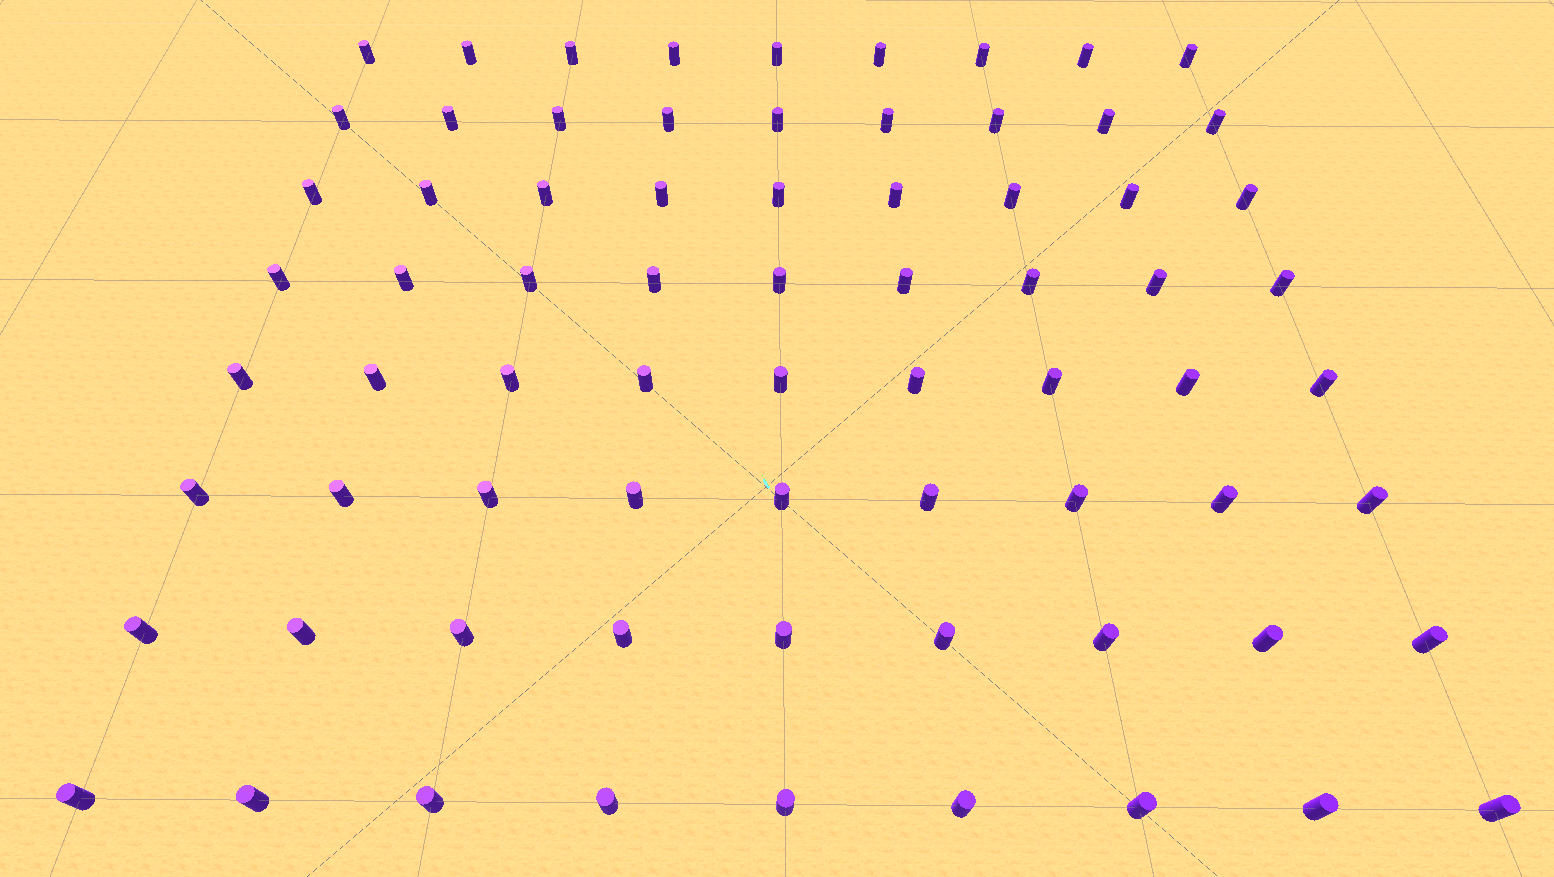
The initial configuration produces a rigid, mechanical grid layout spanning the entire ESG extent:
2. Setting up a Permitted Area
In almost all scenarios, you will want to restrict spawning to specific regions—for example, preventing trees or boulders from spawning on top of the road network to enforce the Collision-Free Mandate.
To mask off regions, utilize the Permitted Area map port:
- Create a
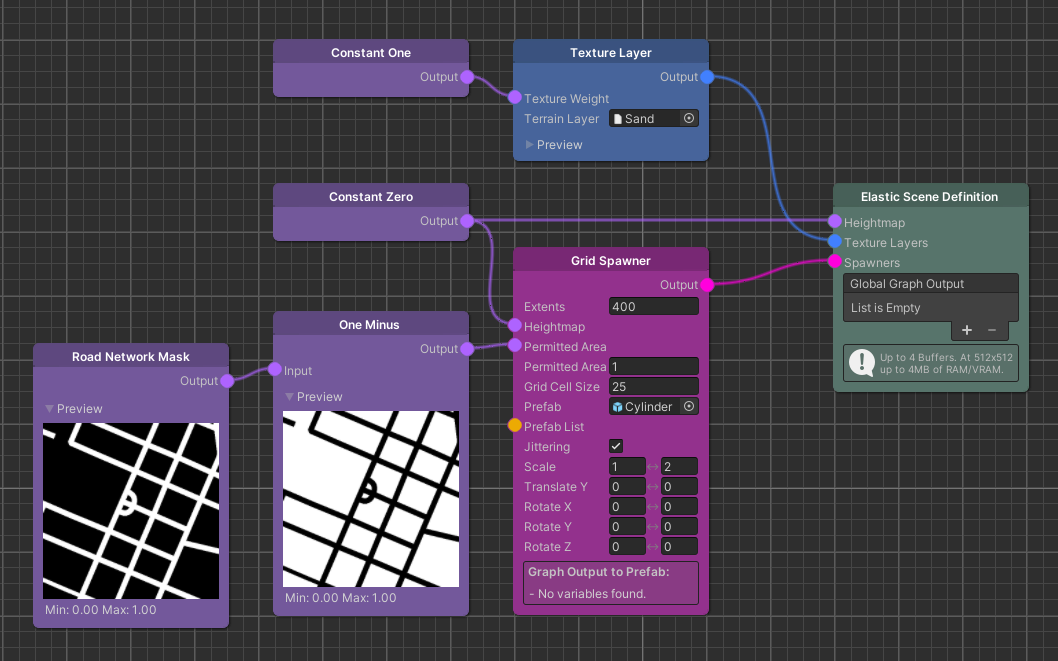
RoadNetworkMasknode to identify your roads (where roads output a map value of1.0fand clear fields output0.0f). - Add a
OneMinusnode and connect the road mask to its input. This invert-filters the mask (roads now output0.0fand empty fields output1.0f). - Connect the output of the
OneMinusnode directly to theGrid Spawner'sPermitted Areainput port. - Tune the
Permitted Area Threshold: This setting (ranging from0.0to1.0) determines the minimum mask value required for spawning. Keeping this at its default value of1.0guarantees that any pixel touched by the road network is fully masked off, instantly culling those cells from spawning.
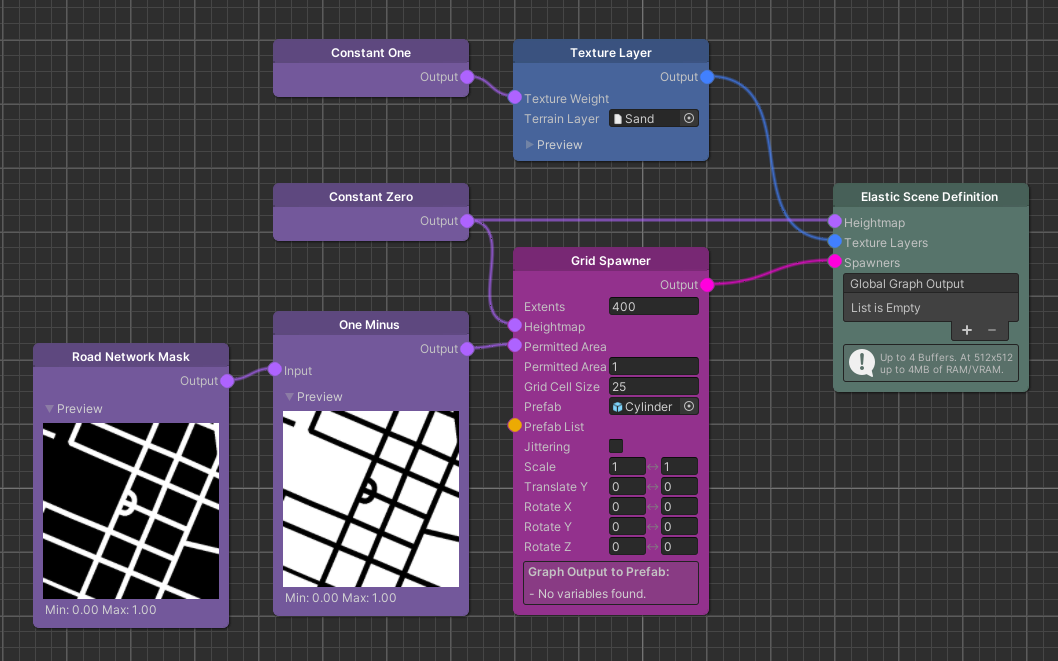
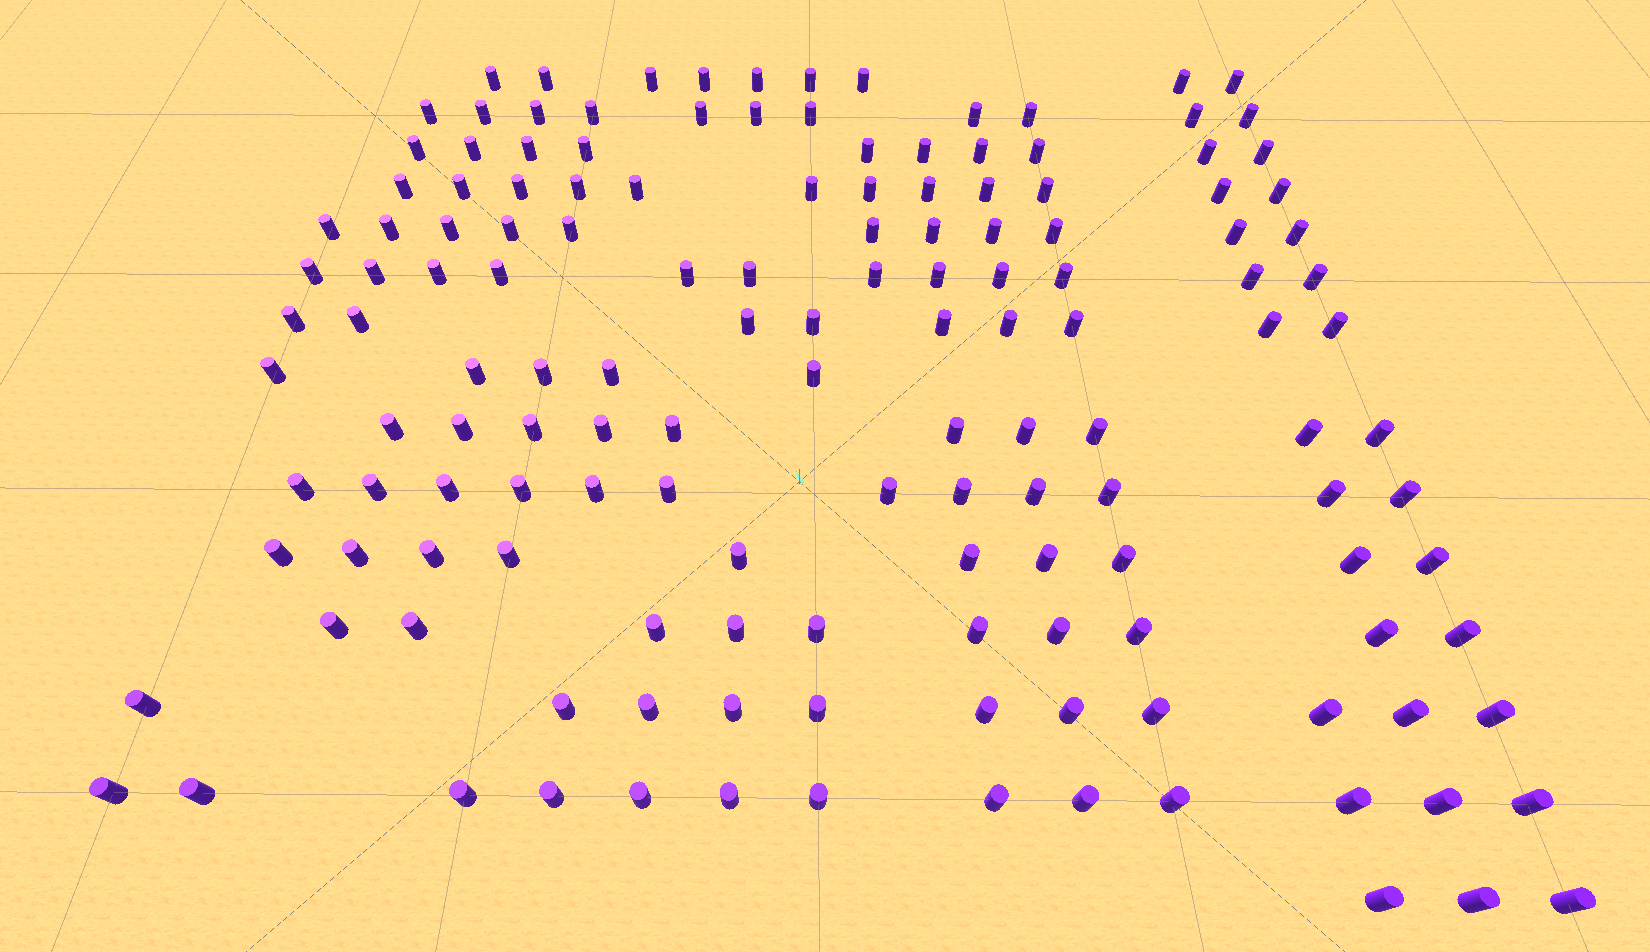
The road network is now completely cleared of all procedural props:
3. Breaking Up the Grid: Randomization
A rigid, mechanical grid is highly unnatural. To break up the grid lines and simulate an organic, lifelike forest or boulder field, the GridSpawner includes built-in pseudo-randomization settings:
Jittering (Break the Lines)
Jitter(float): Adds random positional offsets to the X and Z coordinates of each instance, pushing them slightly away from the absolute center of their cell.- Set this to a value between
0.0and0.5to smoothly scatter assets and simulate a natural, scattered distribution.
Scaling (Organic Growth)
Scale Min / Max(Vector3): Randomizes the scale multiplier on an instance-by-instance basis.- Setting the minimum to
1.0(100% scale) and the maximum to2.0(200% scale) will randomly scale each asset, simulating trees of different growth stages and breaking up visual repetition.
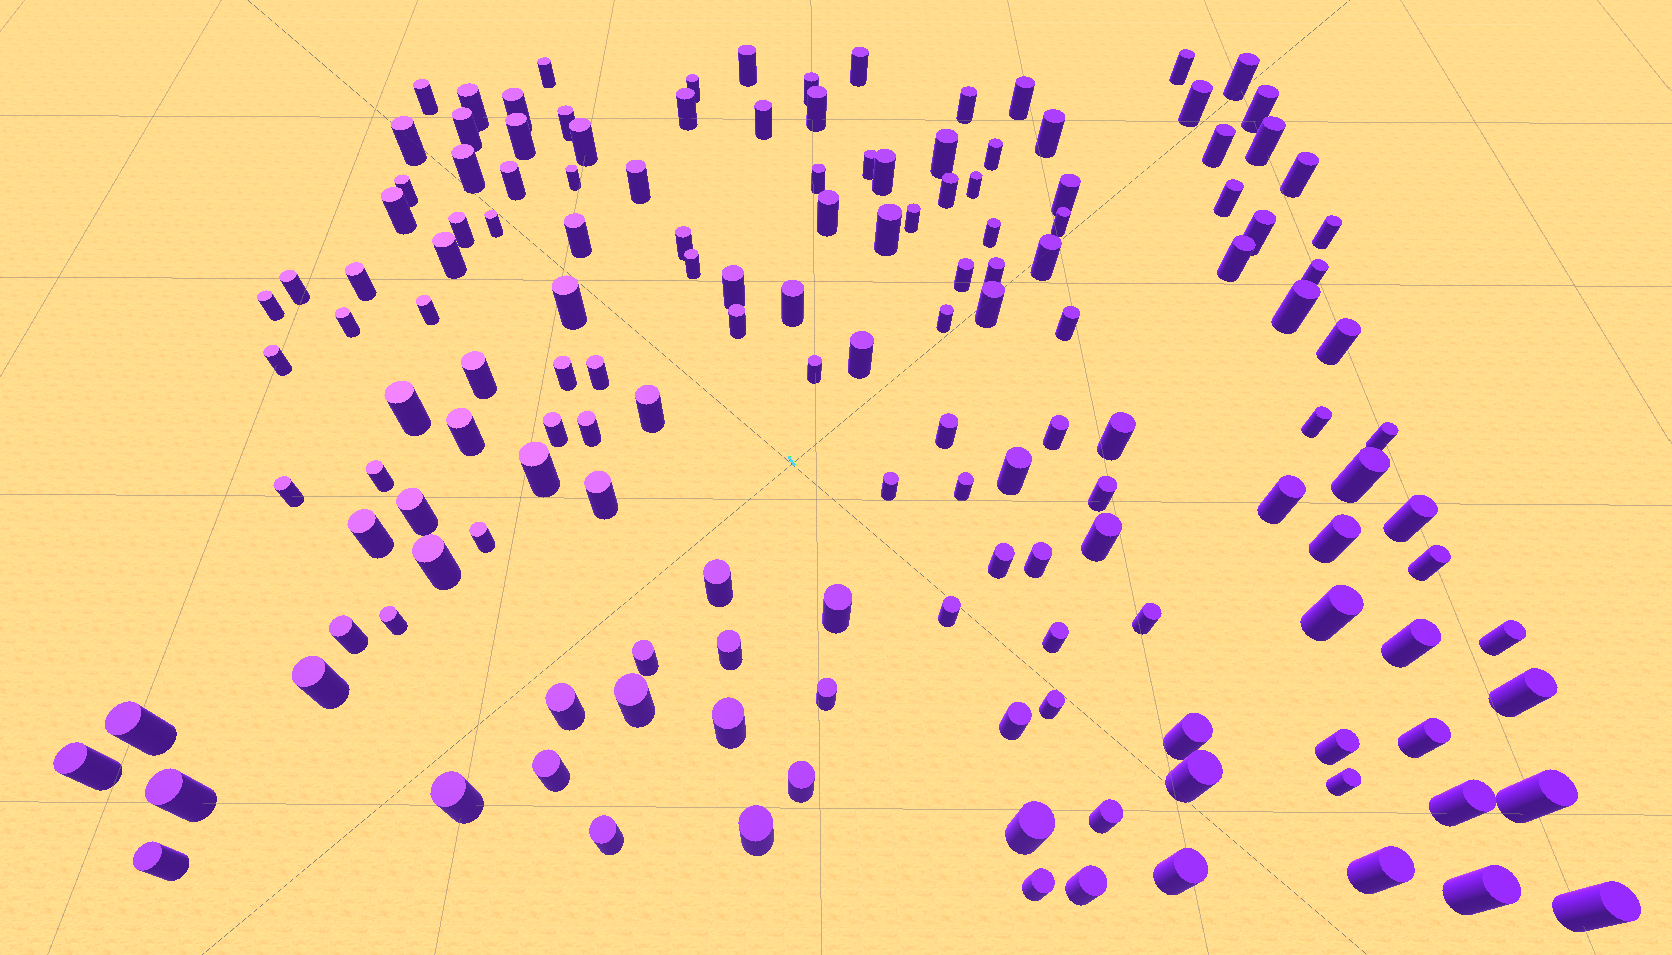
Adding Jitter and Scale transforms the mechanical grid into a realistic, natural distribution:
4. Fine-Tuning Height & Rotation
To achieve even deeper variety, you can configure manual offsets for elevation and orientation:
Height Offsets (Translate Y)
While the Heightmap input aligns the prefab to the terrain surface, some assets require custom vertical anchoring:
Translate Y(float range): Applies an offset in meters relative to the sampled heightmap.- Useful Case: Setting a negative Y-translation lets you bury tree root systems slightly into the ground, while a positive Y-translation lets you float birds, clouds, or floating lanterns in the air.
Multi-Axis Rotation
Rotation X/Y/Z(float ranges): Defines a randomized degree offset (e.g. Min-15to Max15) added to each rotational axis of the spawned instance.- Useful Case: Randomizing the vertical Y-axis by 360 degrees ensures that identical tree models face different directions, completely hiding mesh duplication. Slightly tilting the X and Z axes gives assets like trees or pillars a natural, slightly sloped orientation.
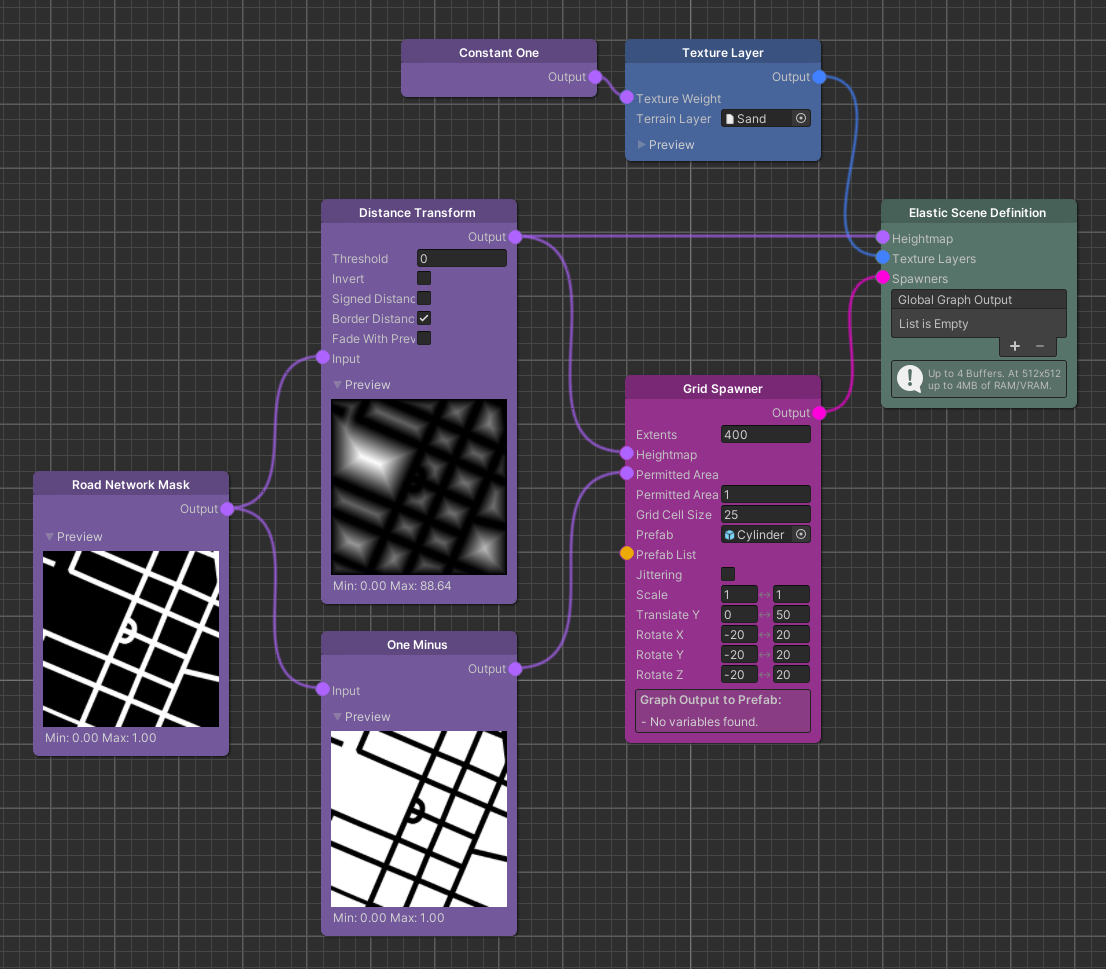
Randomized translations and rotations deliver a professional, rich procedural environment: