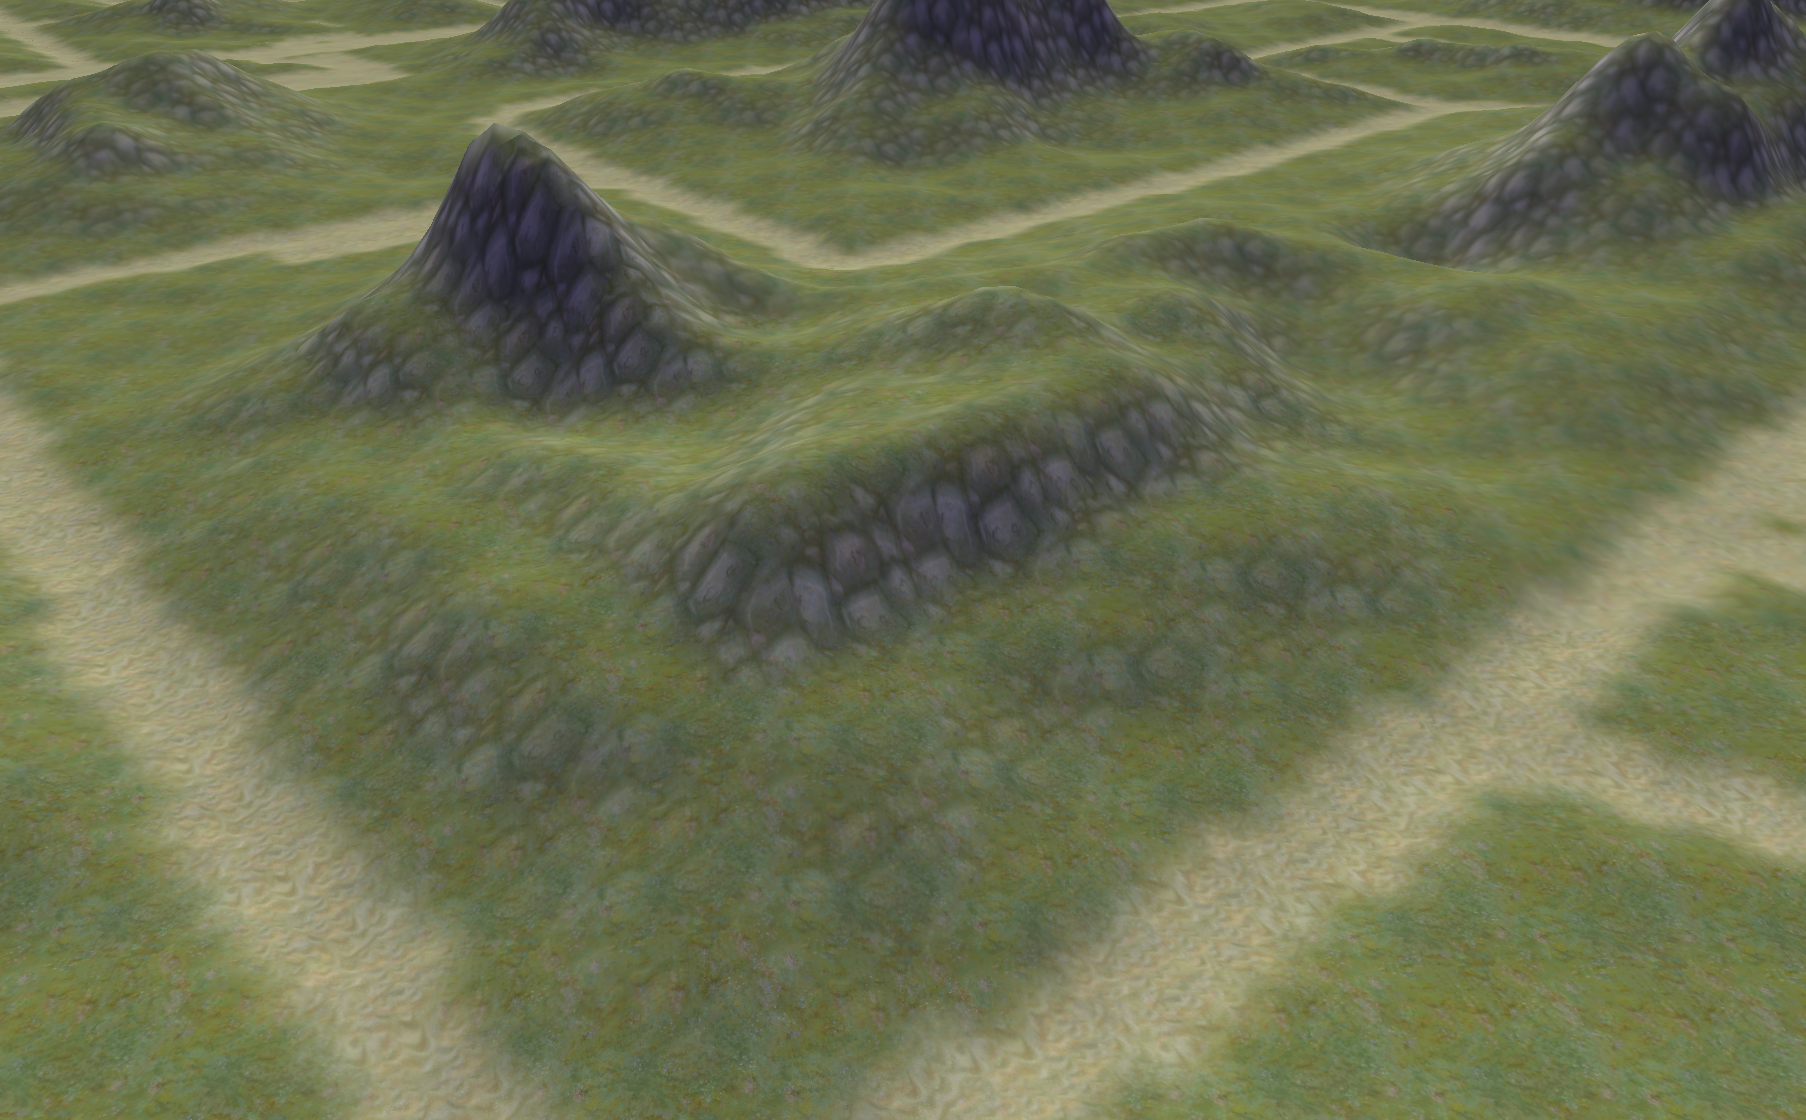
Masks & Texture Layers
In Unity, the terrain surface is textured by blending multiple Terrain Layer assets. For every coordinate on the terrain, a weight map defines which texture is dominant.
We utilize the same Map data structures to drive terrain texturing weights as we do to sculpt elevations. Doing so requires four structural configuration steps:
- Terrain Material Setup: Choose a terrain material that supports Unity's Terrain Layer rendering system.
- Terrain Layer Setup: Configure Terrain Layer assets with diffuse textures and tiling coordinates inside Unity.
- Texture Layer Nodes: Insert Texture Layer nodes inside the graph, assigning your layer assets and connecting their outputs to the Elastic Scene Definition.
- Texture Masks: Define procedural Maps to mask and blend the weights of the terrain textures.
1. Terrain Material Setup
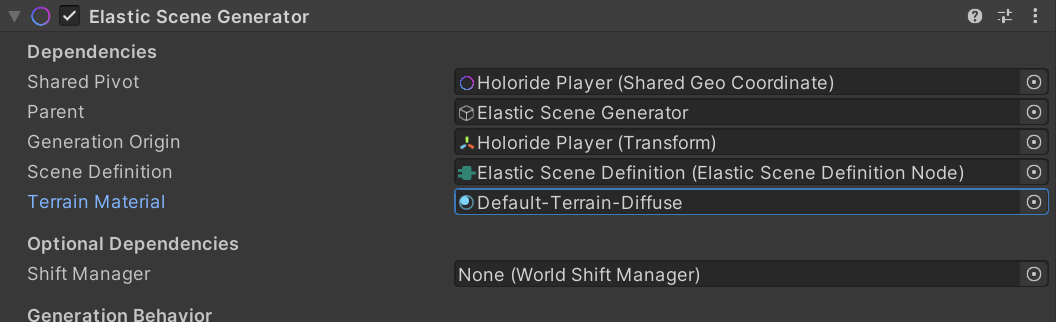
A material supported by your project's active render pipeline must be configured:
- Standard Render Pipeline (Built-in RP): Choose the pre-defined Unity terrain material called
Default-Terrain-Diffuse. - Universal Render Pipeline (URP): Create a new material in your asset folder and choose the shader
Universal Render Pipeline/Terrain/Litfrom its Inspector. Link this material in the Terrain Material field on the Elastic Scene Generator component.
Tip
Custom Terrain shaders are highly useful to achieve distinctive artistic visual styles, but they must follow Unity's shader property naming conventions to receive the multi-channel texture weights compiled by the ESG.
2. Terrain Layer Setup
Create a new Terrain Layer asset by right-clicking your asset folder and choosing Create > Terrain Layer (note that this is a native Unity asset, not an SDK component). A minimal setup requires linking a Diffuse texture.
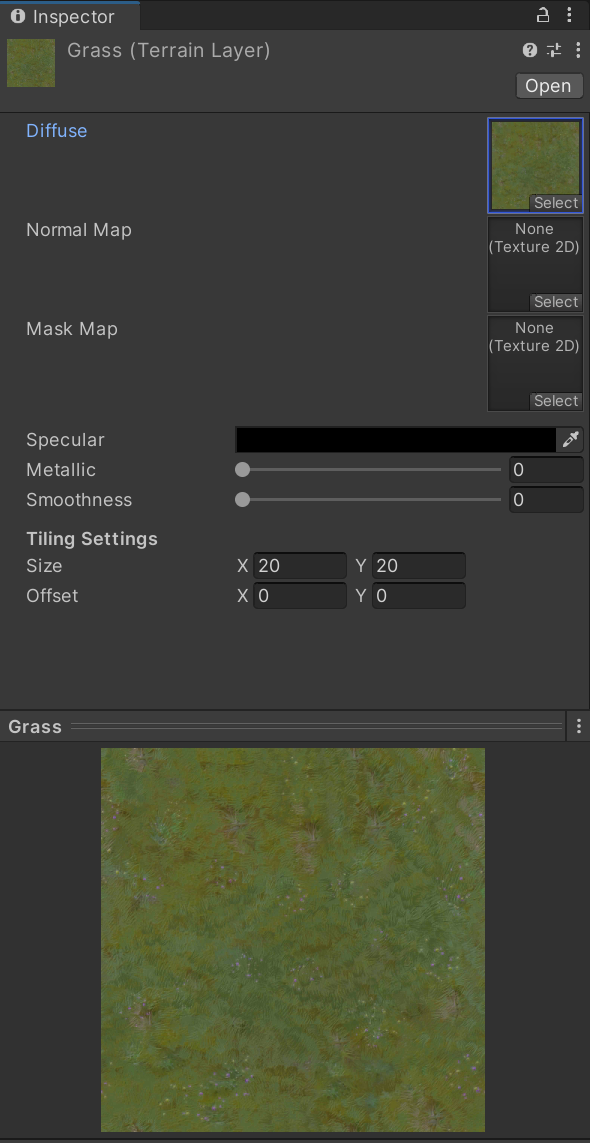
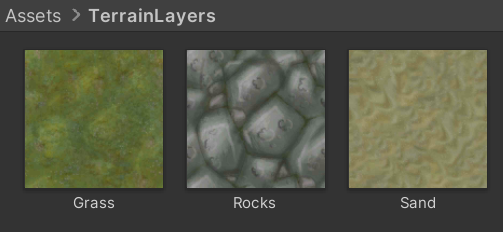
To follow this tutorial, repeat the process twice with different textures (e.g. Grass, Rock, and Asphalt road textures).
Tip
Setting normal maps and mask maps on Terrain Layers adds significant visual fidelity, but can be costly on mobile hardware. Keep them simple (diffuse only) for highly optimized mobile VR performance.
3. Texture Layer Nodes
In your Elastic Graph, add three Texture Layer nodes and connect their outputs to the Elastic Scene Definition. Assign a different Terrain Layer asset reference to each node.
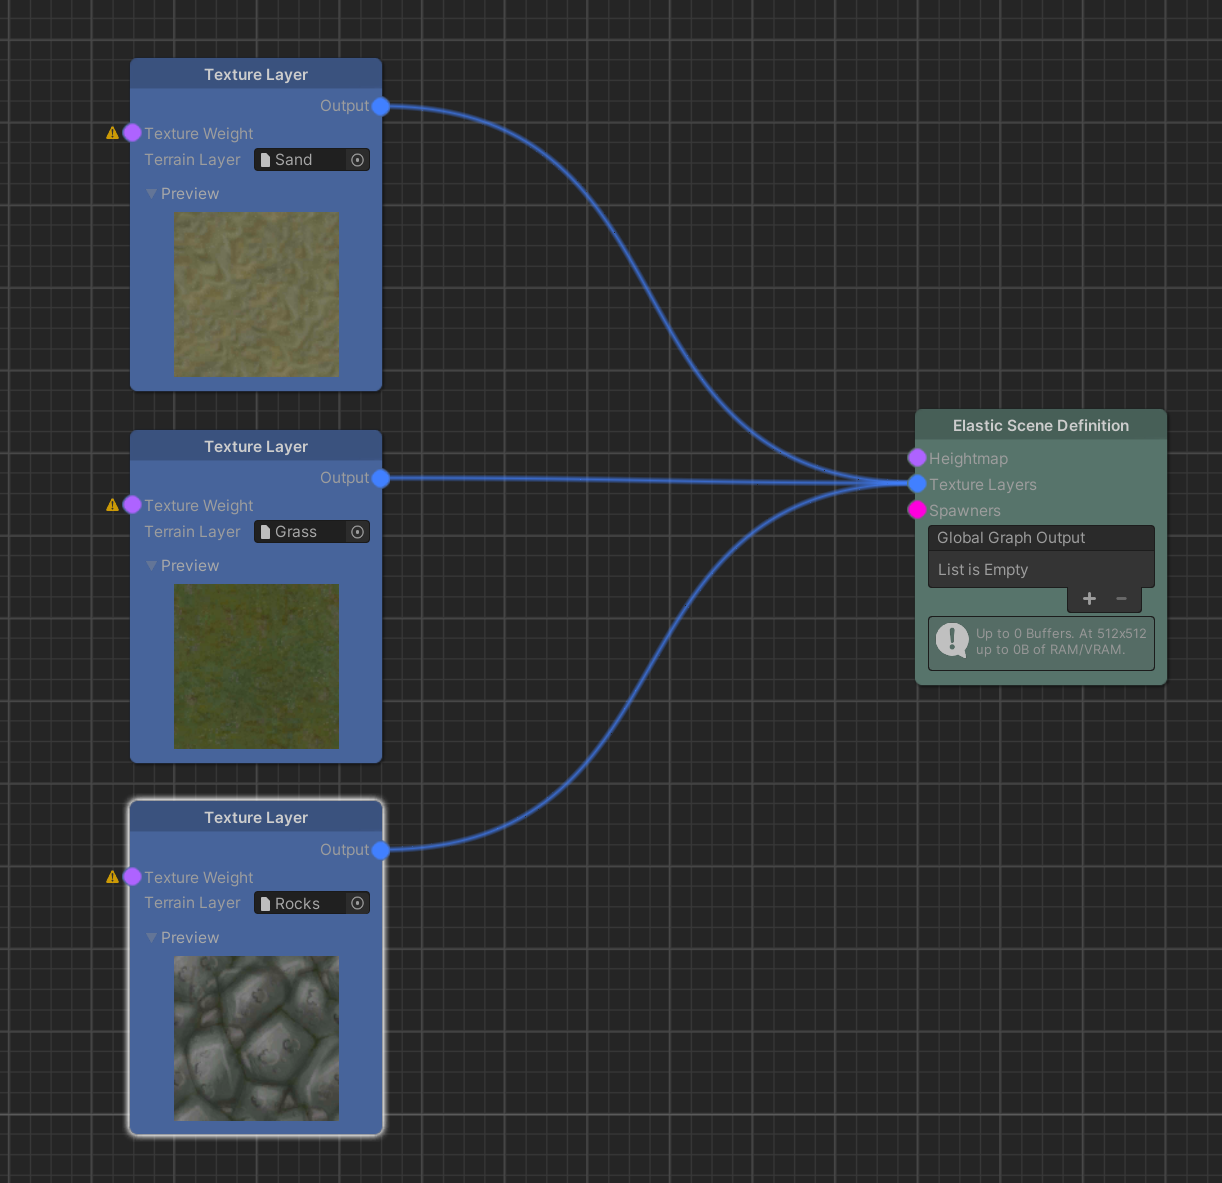
Important
To avoid additional render passes and compile-time performance overhead, do not connect more than four Terrain Layers to your Elastic Scene Definition.
4. Texture Masks (The Sum-of-1-Rule)
To blend terrain textures predictably, you must understand a fundamental rule of Unity's terrain rendering pipeline: The weights of all blended textures at any given pixel coordinates should ideally sum to exactly 1.0.
- The Problem (Normalization): If the combined weights at a pixel coordinate sum to
1.5or0.5, Unity's terrain shader automatically normalizes the values to equal1.0. This normalization process causes textures to clip or "shine through" unexpectedly in areas where they should be masked off. - The Solution (Inverse Masking): Use a One Minus modifier to calculate the absolute inverse of your main mask, ensuring the sum of both weights is mathematically locked at exactly
1.0.
Blending Noise (Predictive Blending)
Connect a Perlin Noise source (with its max value clamped to 1.0) to your Grass texture layer, and connect its One Minus inverse to your Soil texture layer:
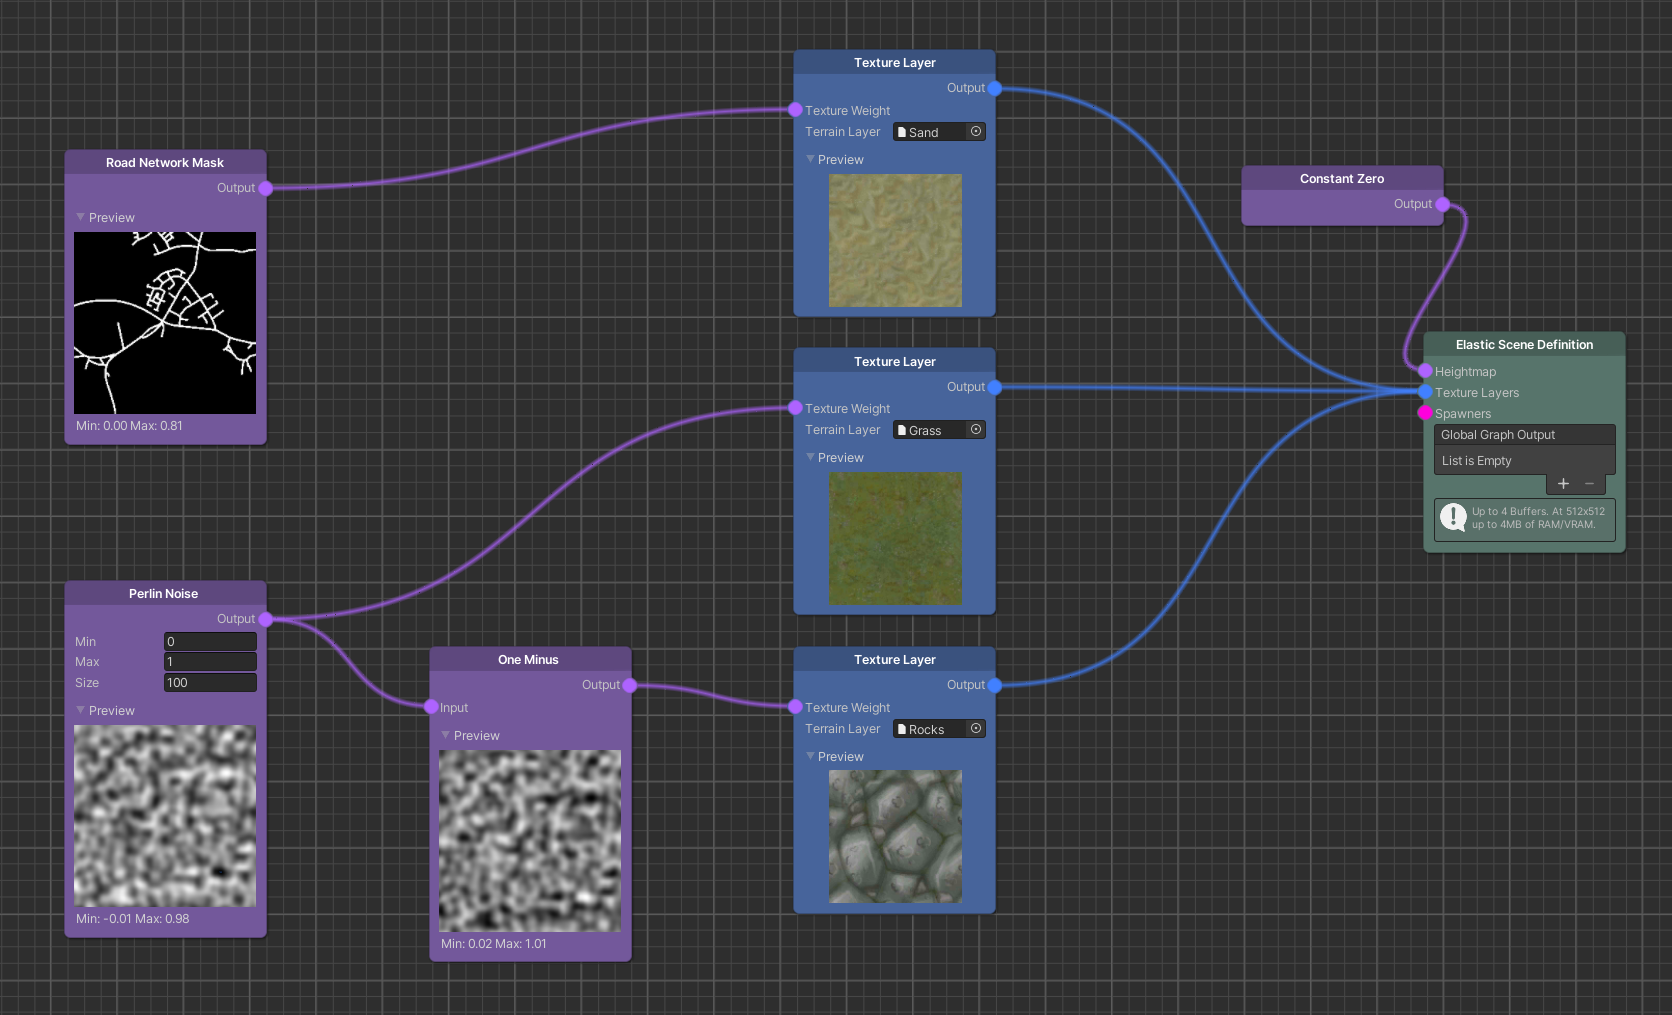
Because of the One Minus inverse, as the noise value shifts across the terrain, the soil texture fades in as the grass texture fades out, keeping their sum perfectly locked at 1.0.
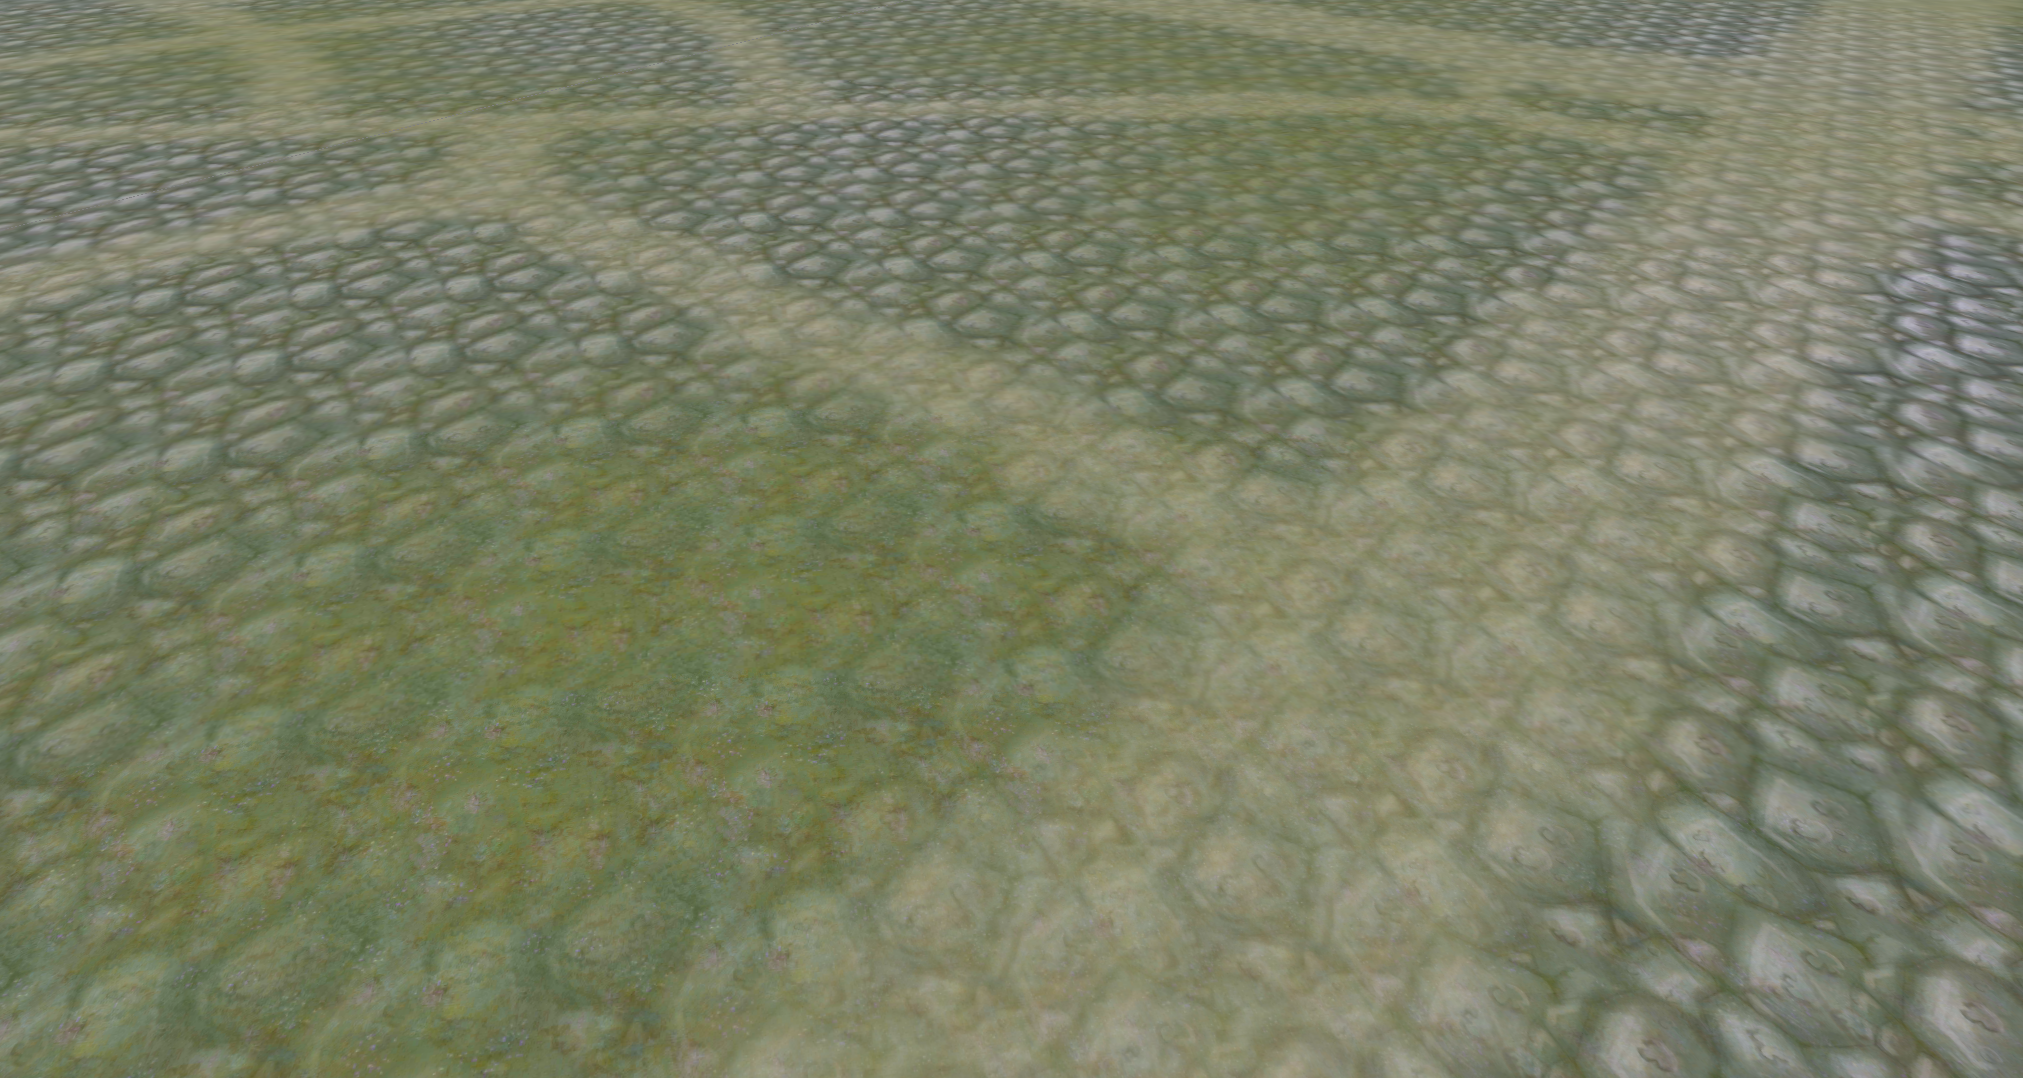
Masking the Road (Gating Weights)
Adding an asphalt road texture directly on top of the noise-blended terrain violates the Sum-of-1-Rule, causing the road texture to appear semi-transparent and allowing grass to shine through the asphalt.
To fix this, we must carve the road network out of the other texture layers by multiplying them by the inverted road mask:
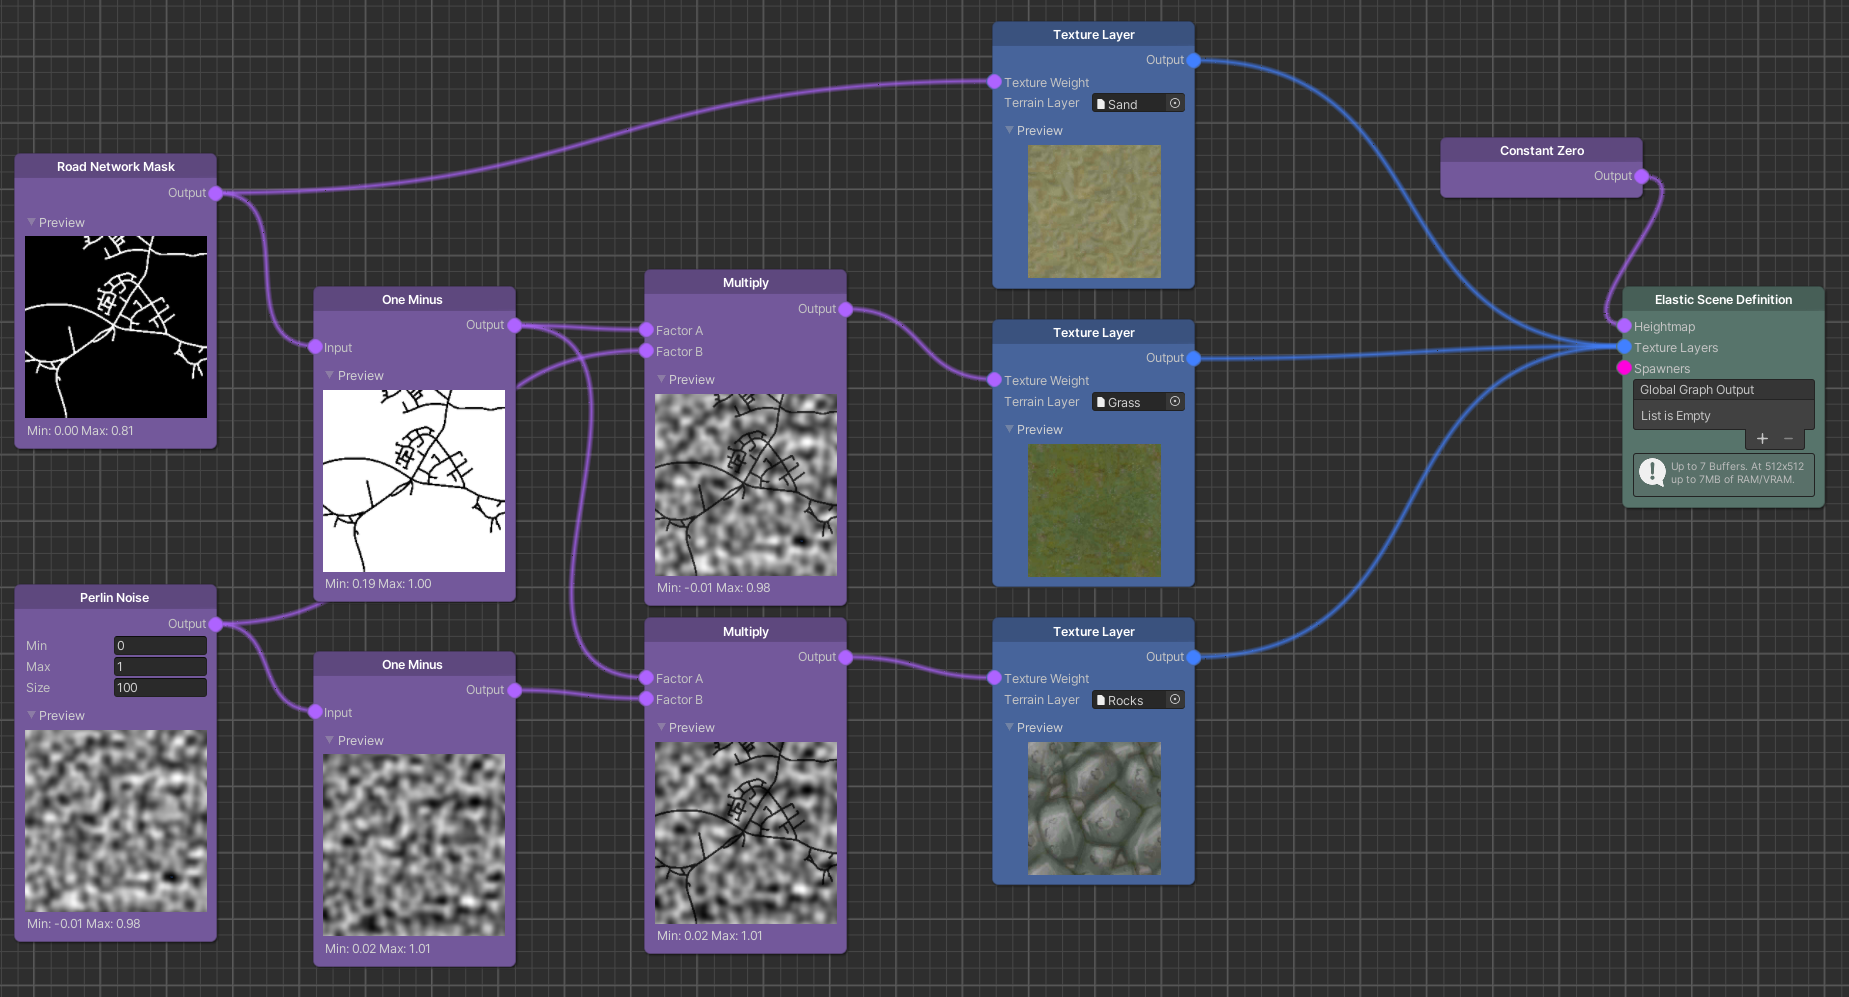
Multiplying both the grass noise and the soil inverse noise by the One Minus of the Road Mask forces their weights to drop to exactly 0.0 at all road pixels, leaving the road layer as the sole, fully opaque texture on the asphalt corridor.
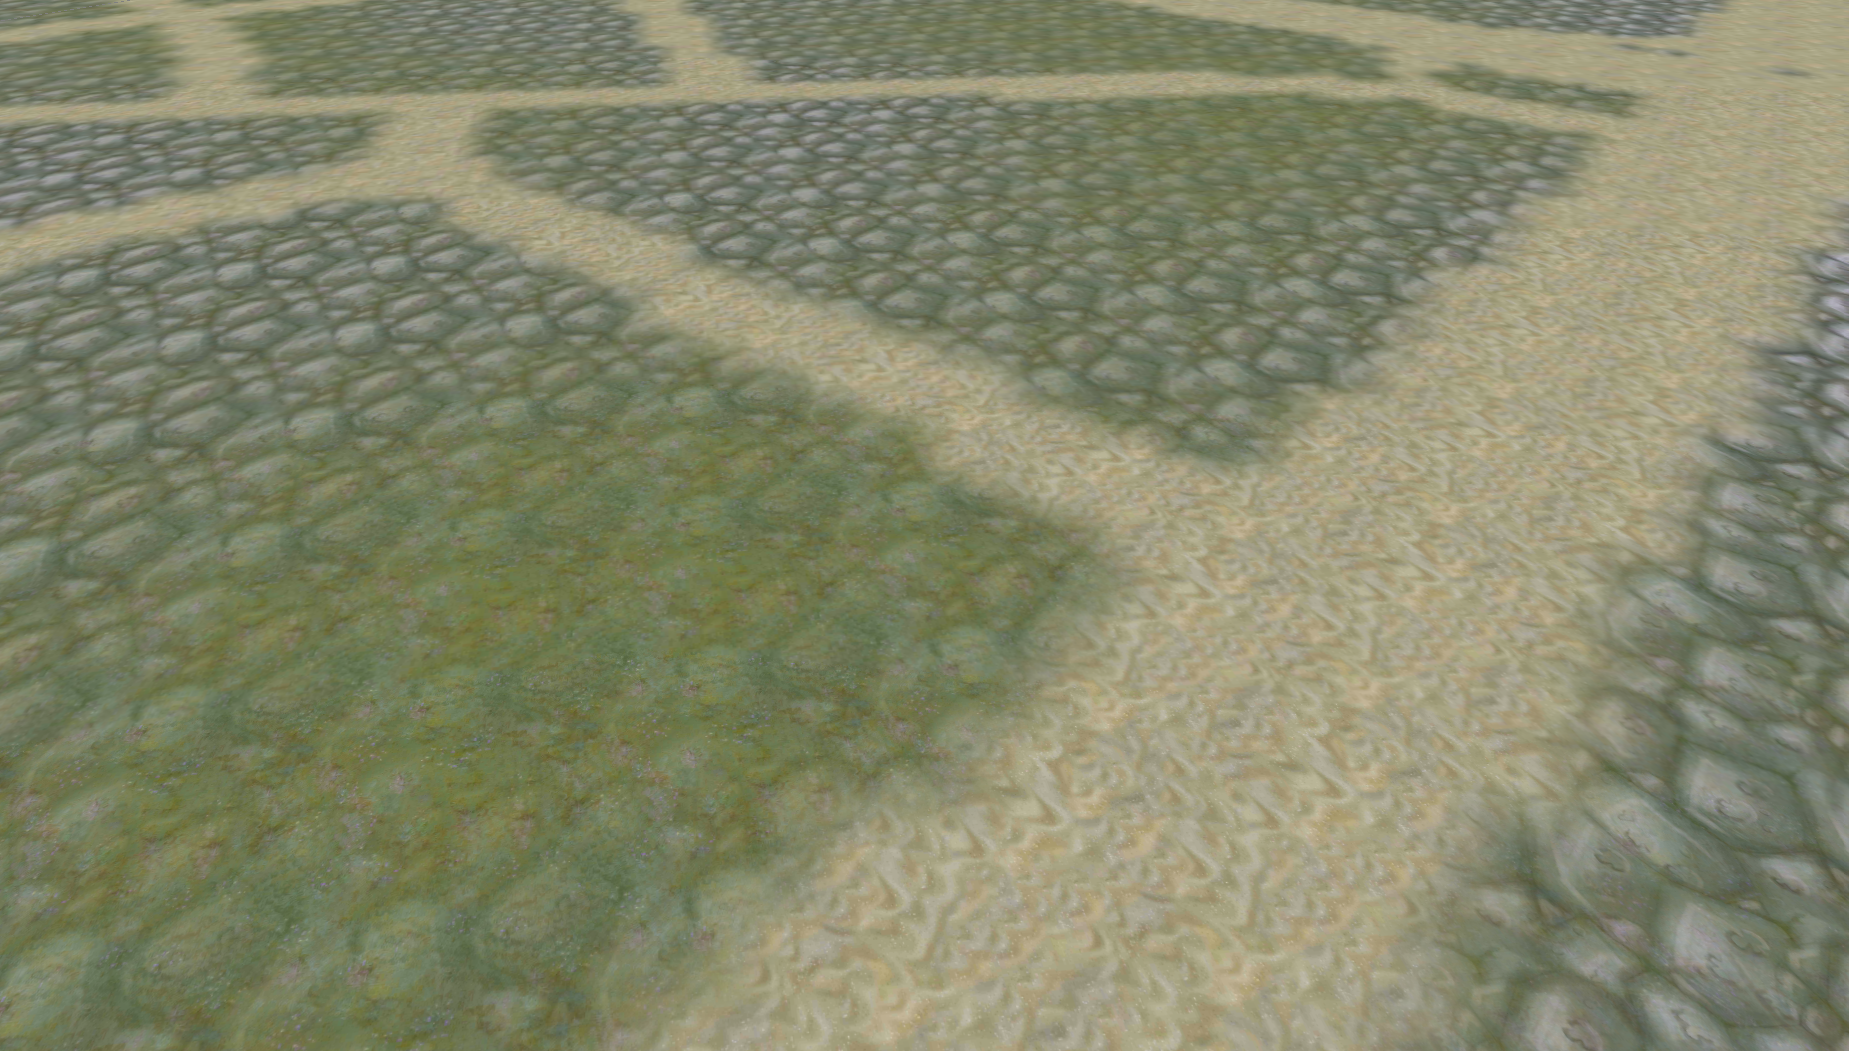
5. Slope-Dependent Textures (Normal Projection)
A particularly powerful method to paint terrains organically is slope-dependent texturing. It is unrealistic for grass to grow on near-vertical mountain cliffs; instead, steep slopes should blend into stone textures.
The SDK makes the terrain slope accessible via the Normal Projection Evaluator node:
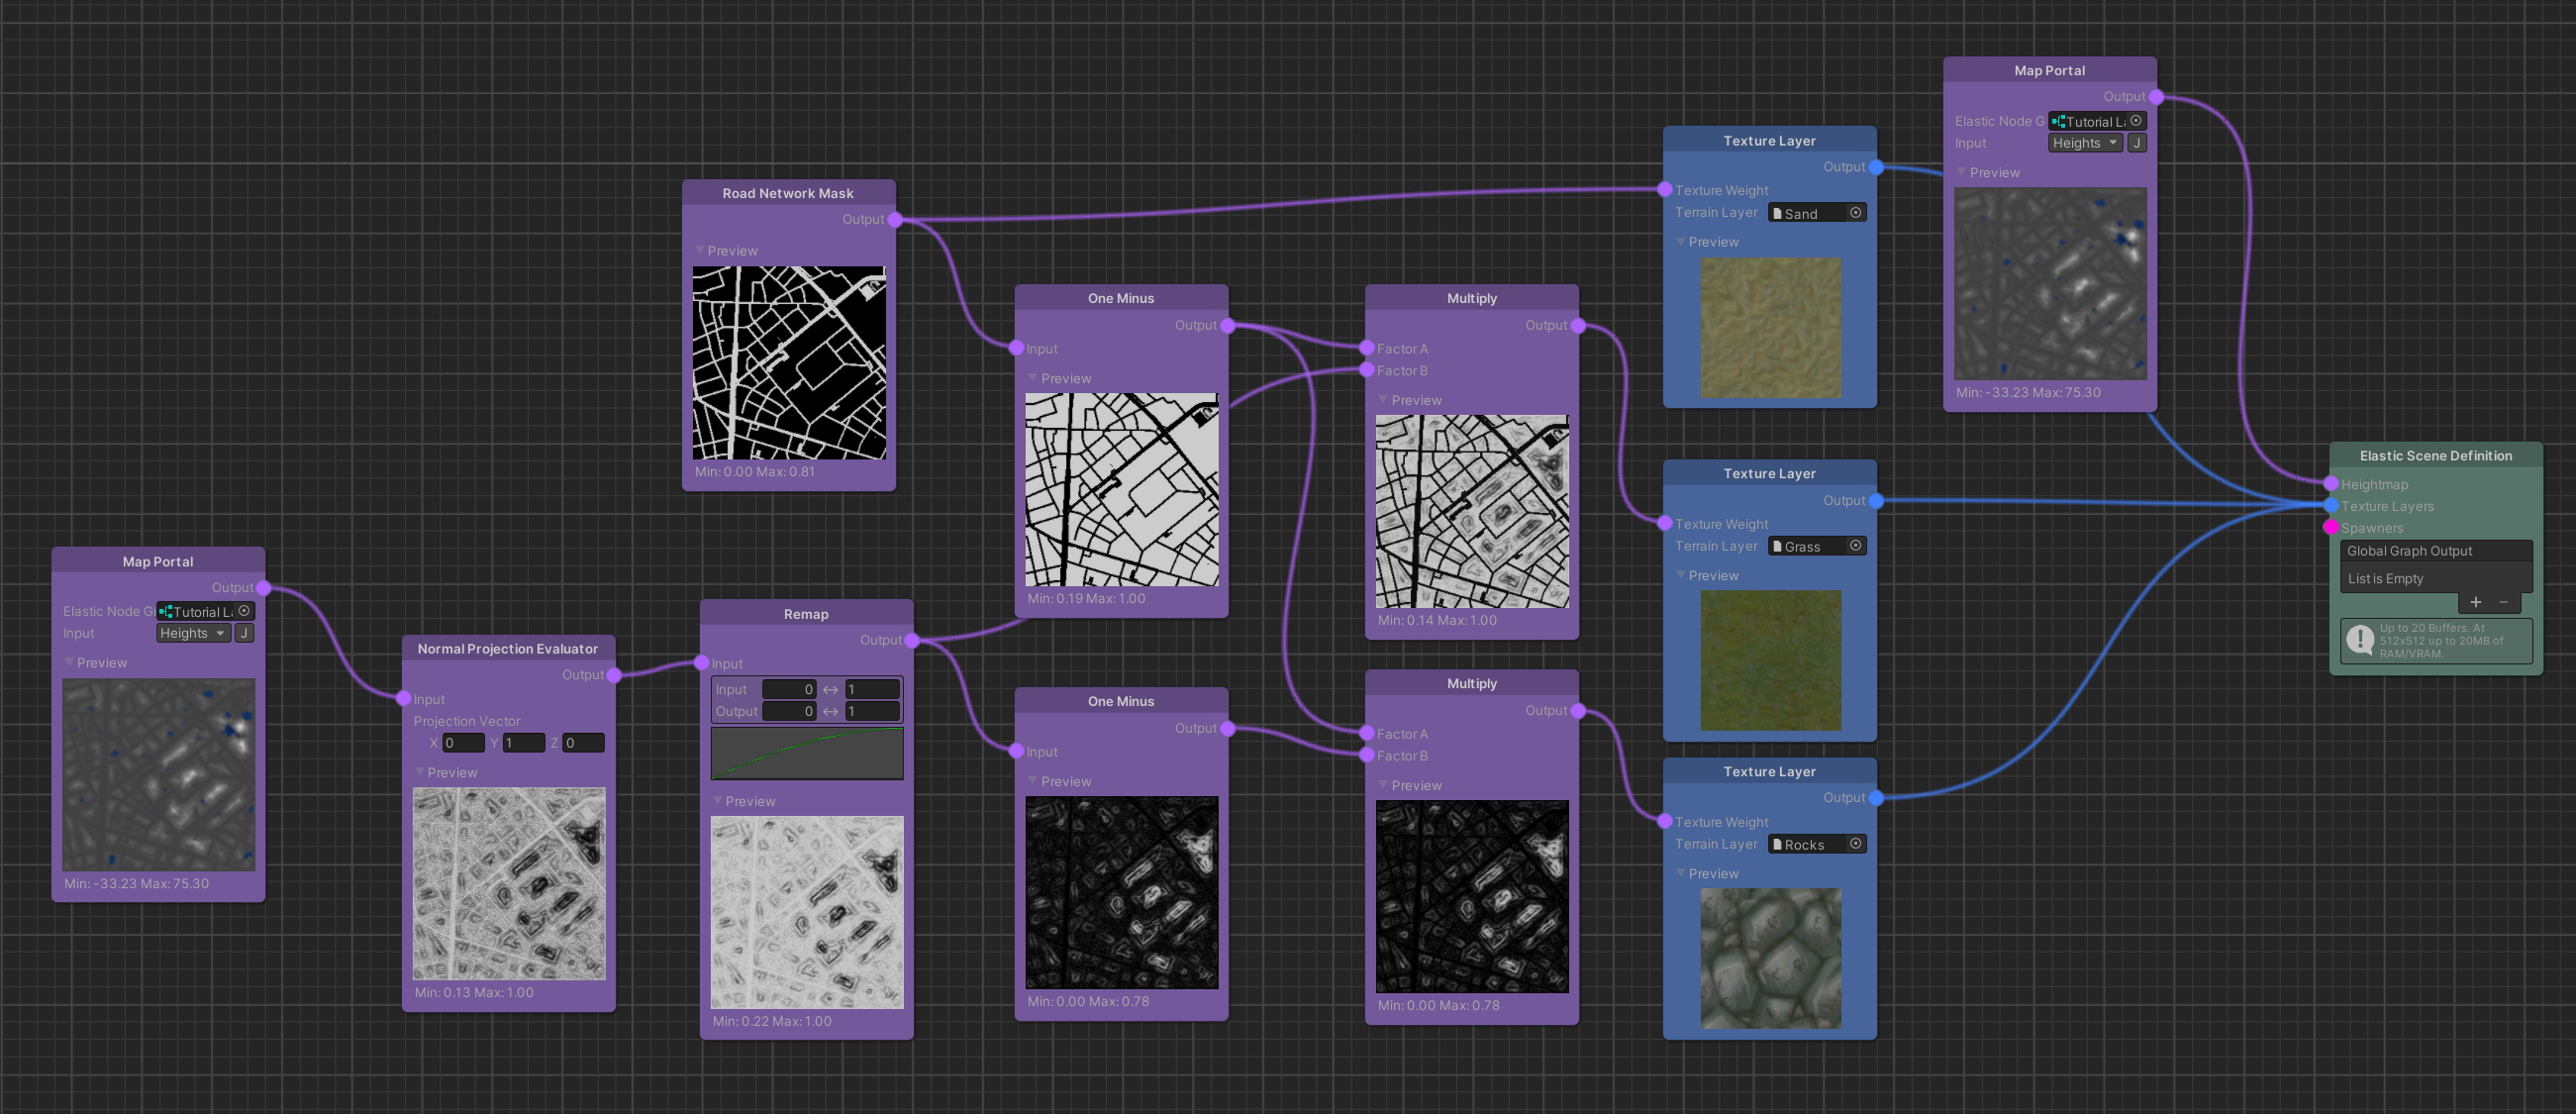
- Calculations: Connect your main Heightmap map into the Heightmap port of a Normal Projection Evaluator.
- The Output: The node computes the dot-product between the terrain normal vector and a vertical up-vector at every pixel. It outputs
1.0at near-vertical cliffs and0.0on completely flat plains. - Blending Result: Remapping this slope mask allows you to seamlessly paint grass on flat meadows and stone on rugged vertical rock faces, mimicking gravity and landslip erosion.